Description
Obsolete! Replaced by eisy r2.
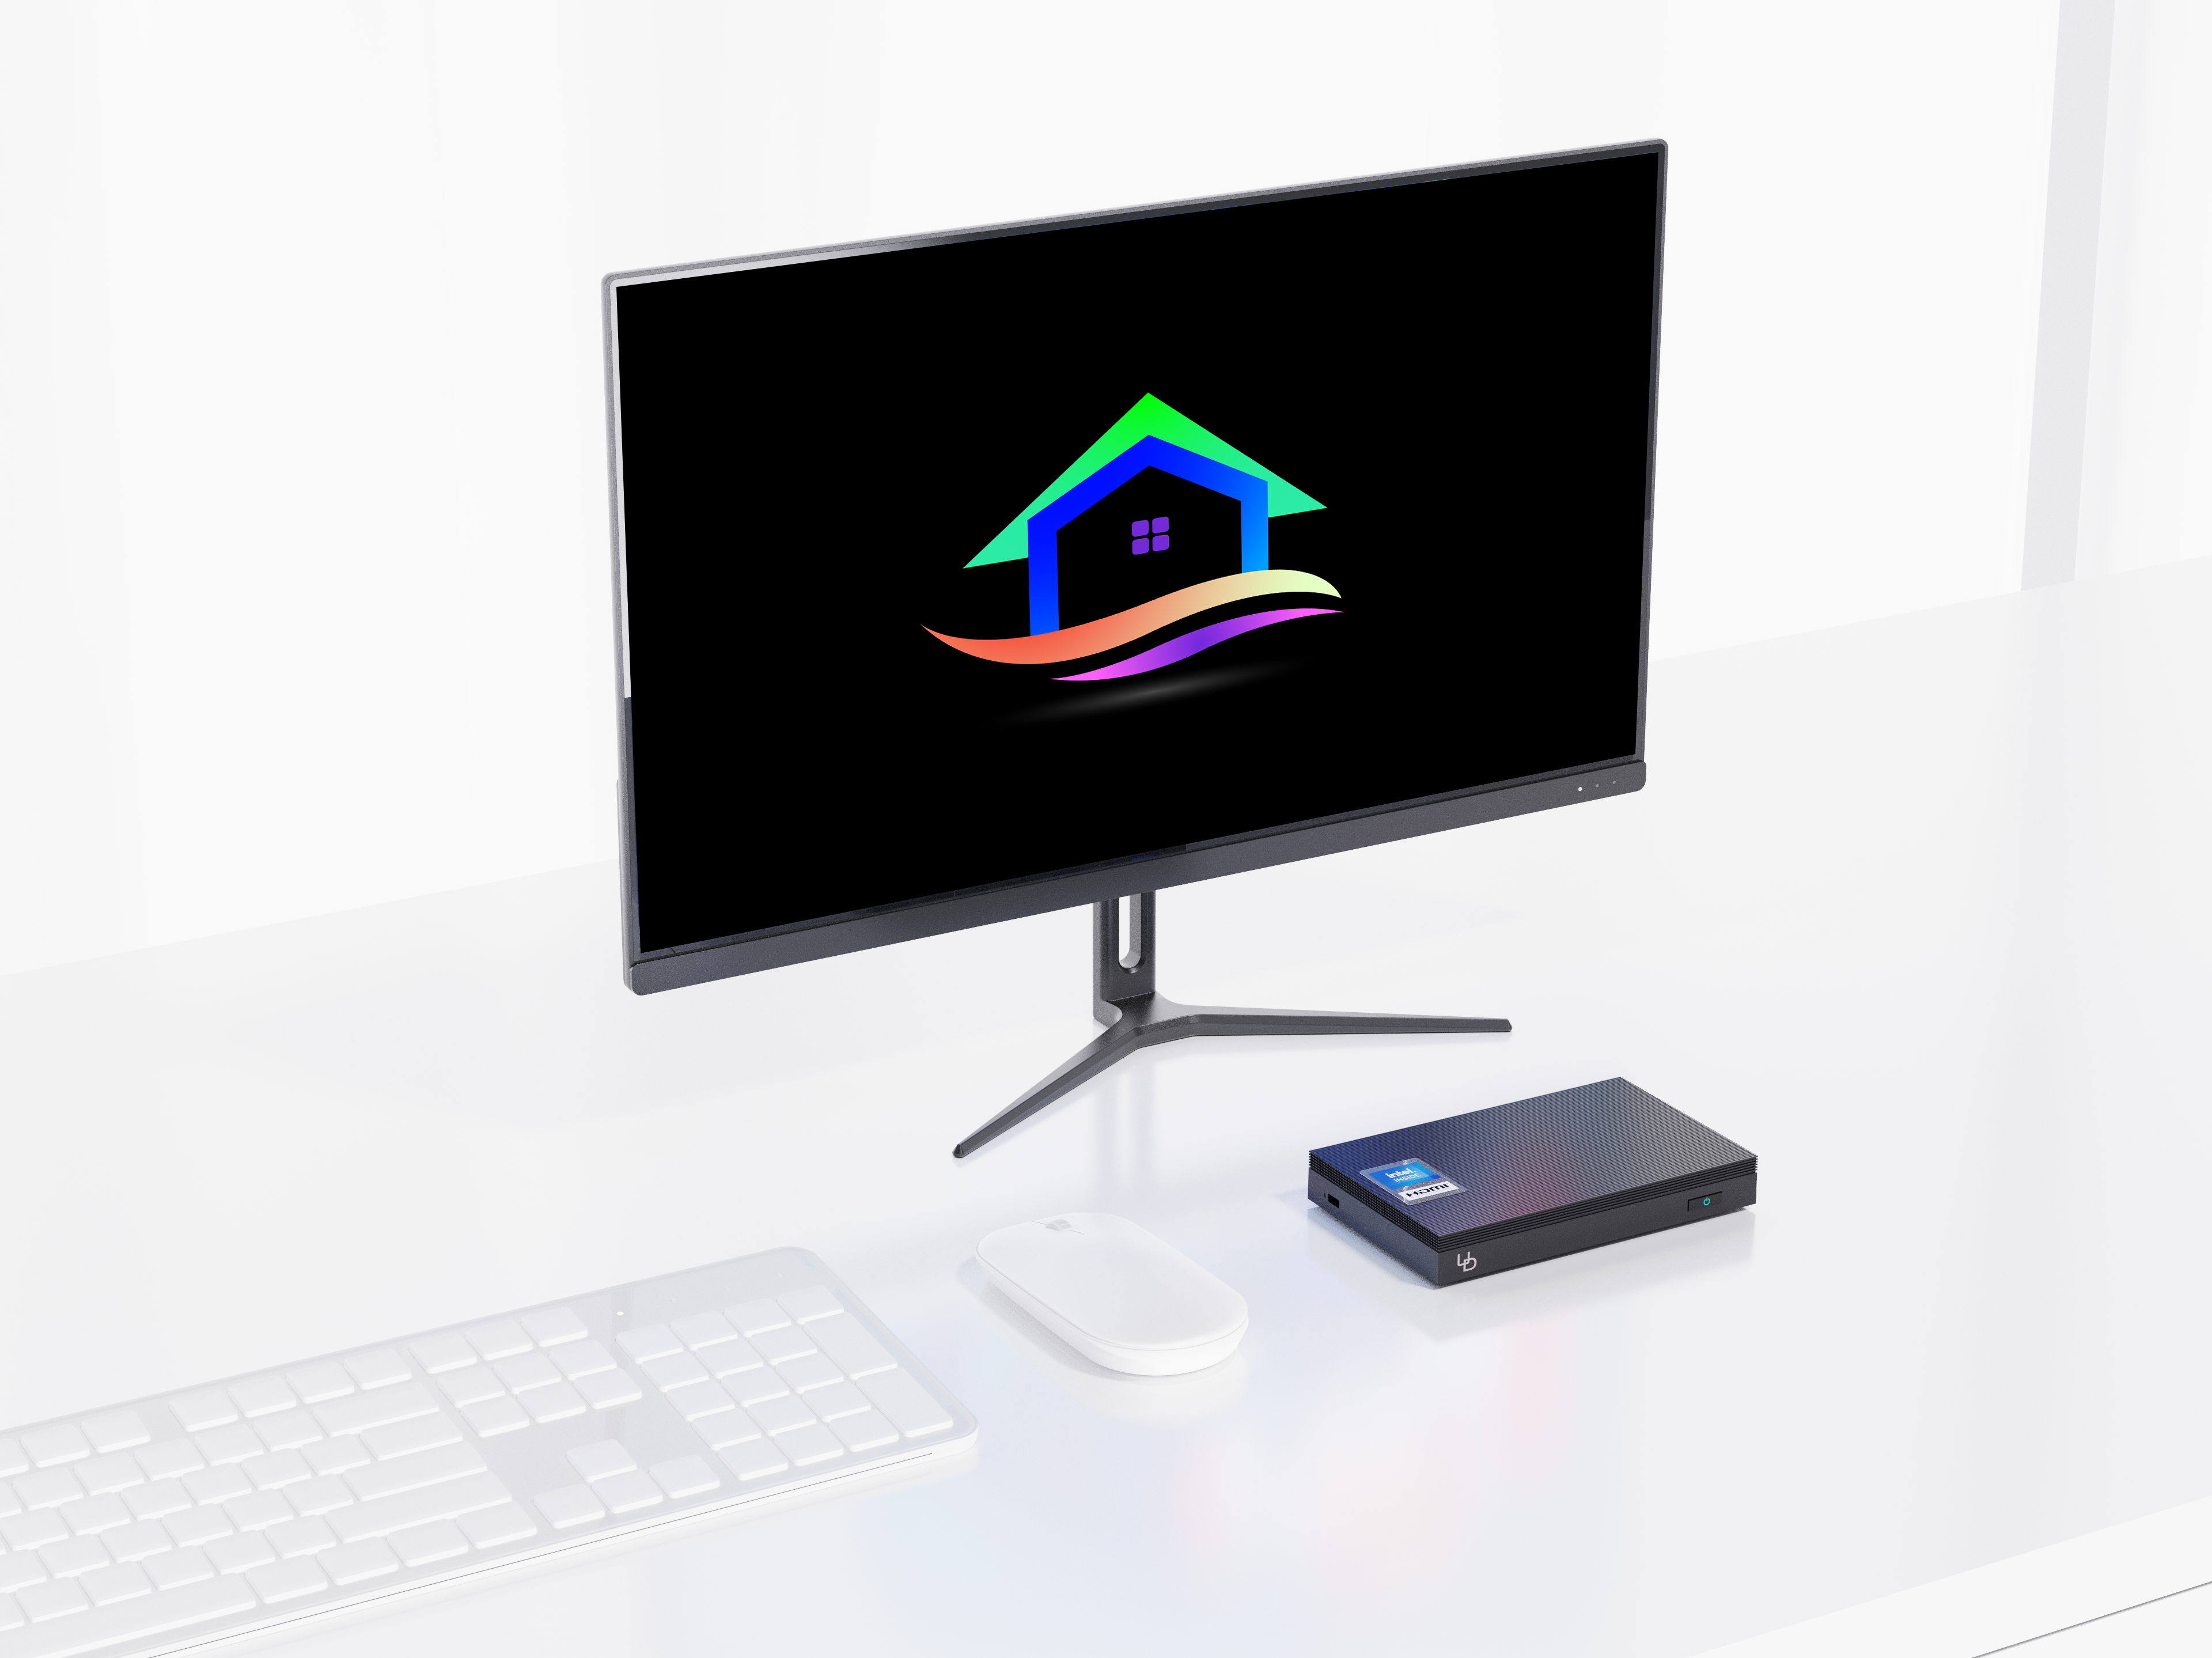
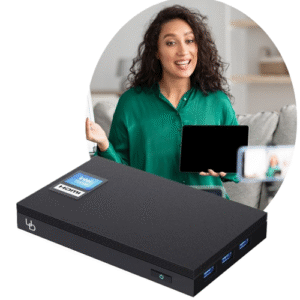
eisy | home is our 7th generation home automation controller and energy management system. It’s called eisy because it’s based on the same rock-solid ISY technology as its predecessors while also restructured for ease of configuration and use through our fantastic UD Mobile App. eisy is packed with power and flexibility and it’s so cute that some of us call it ‘cutie’! You don’t believe it? Checkout this video.
Specs
Hardware:
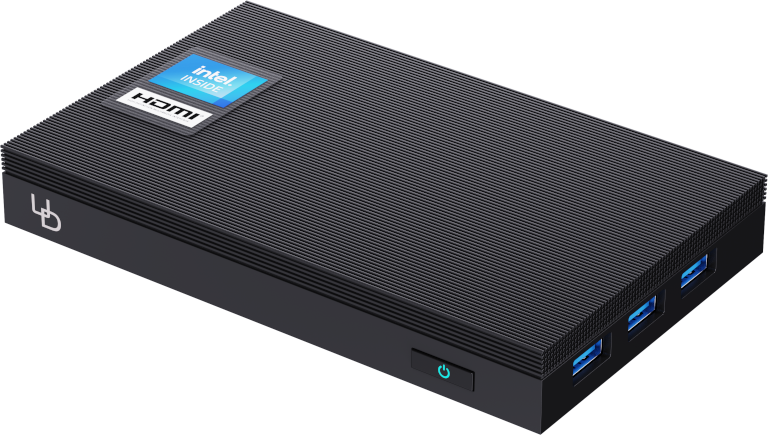
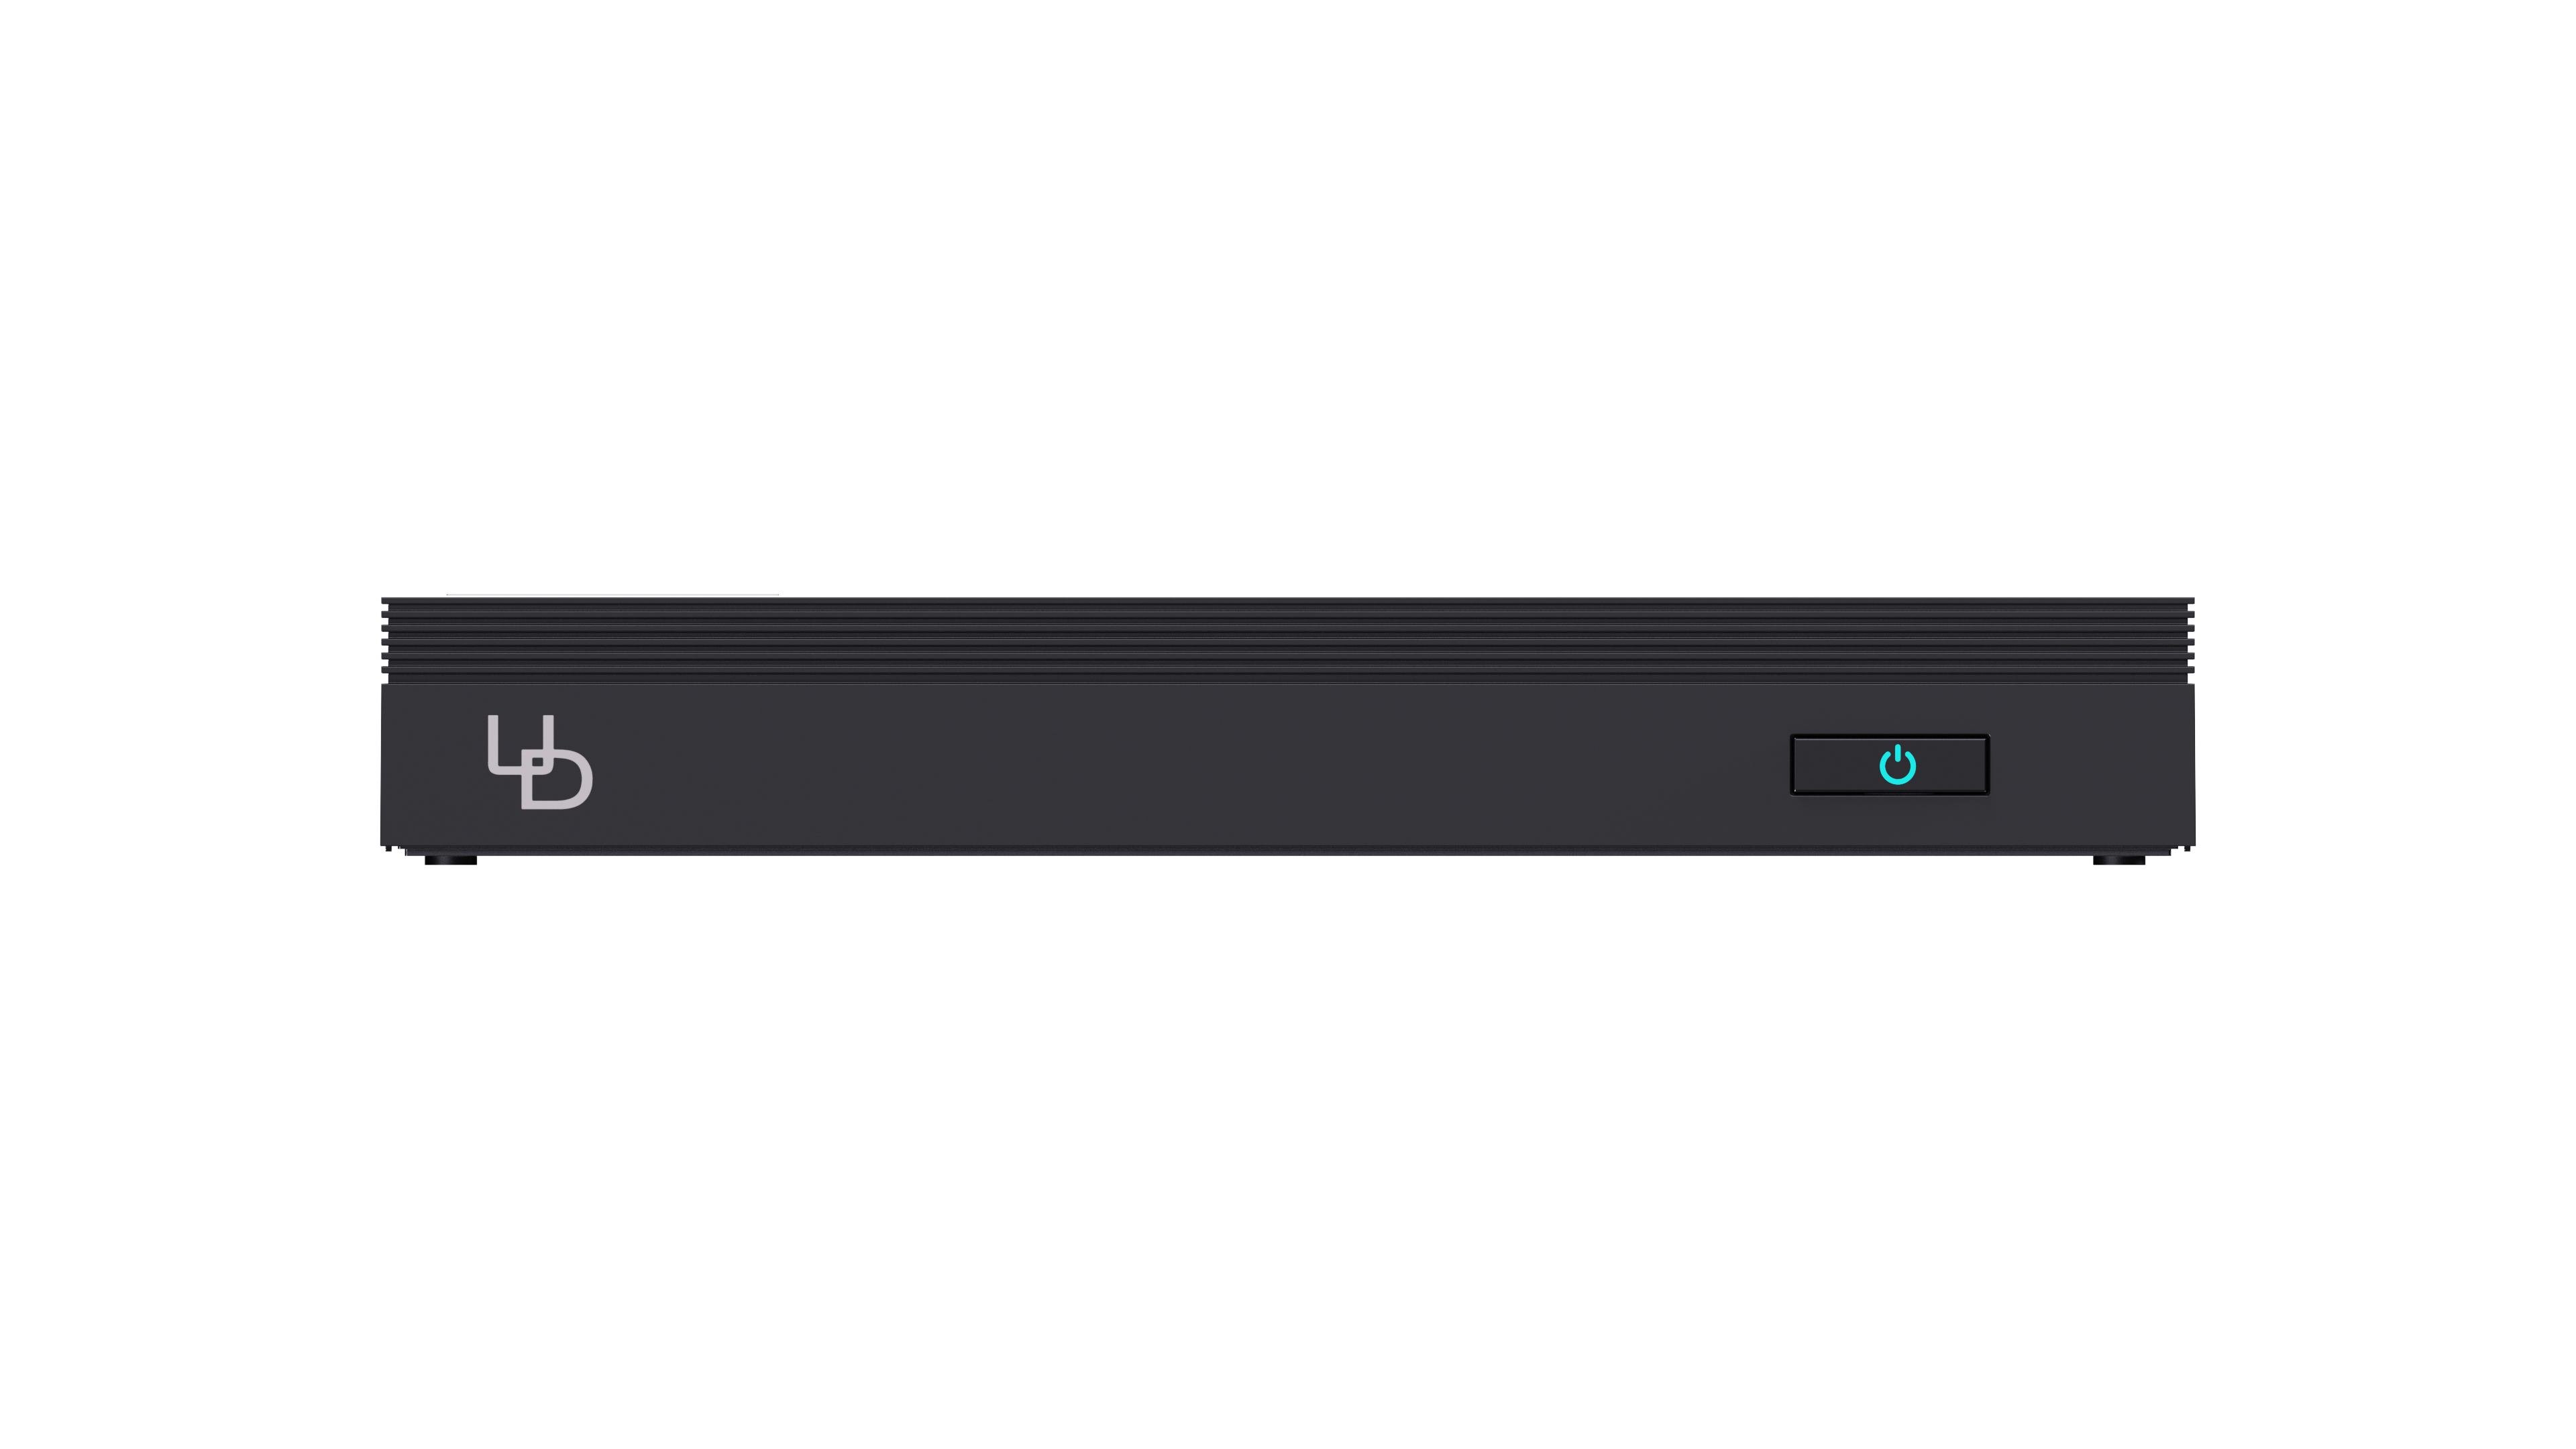
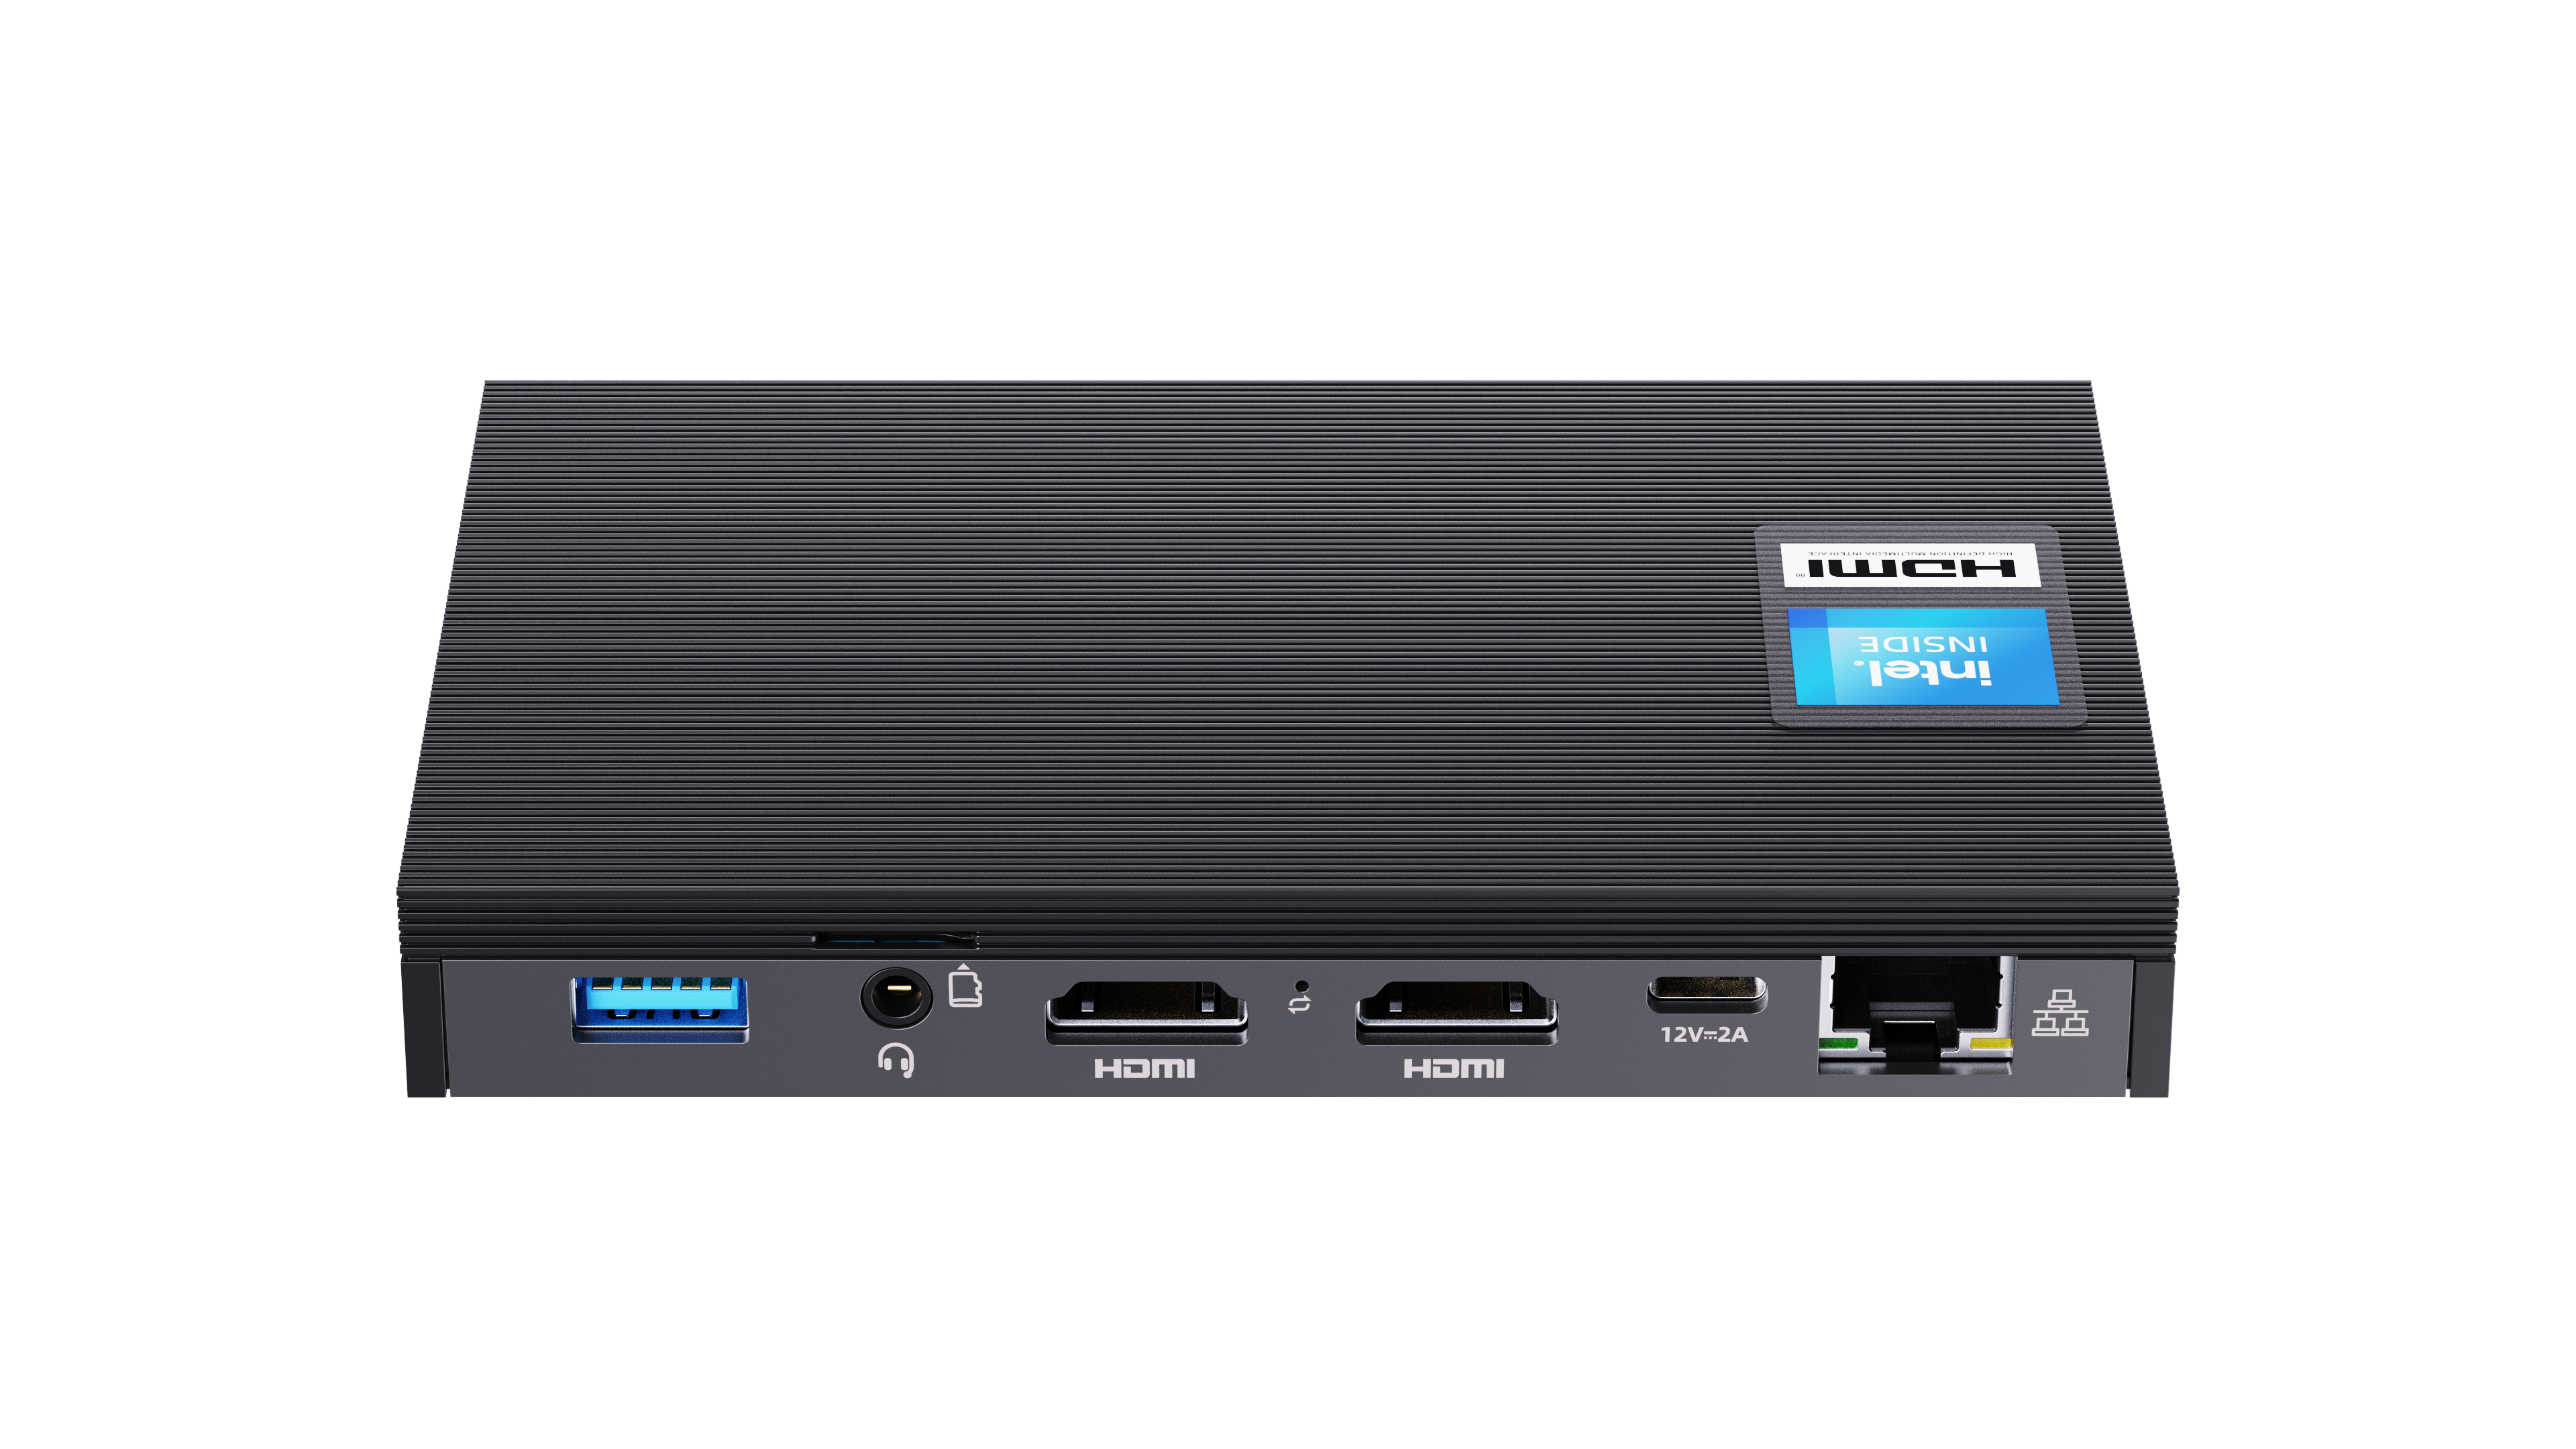
- Intel Celeron Quad Core @2.9GHz | 8GB RAM | 60GB Storage | TPM 2.0
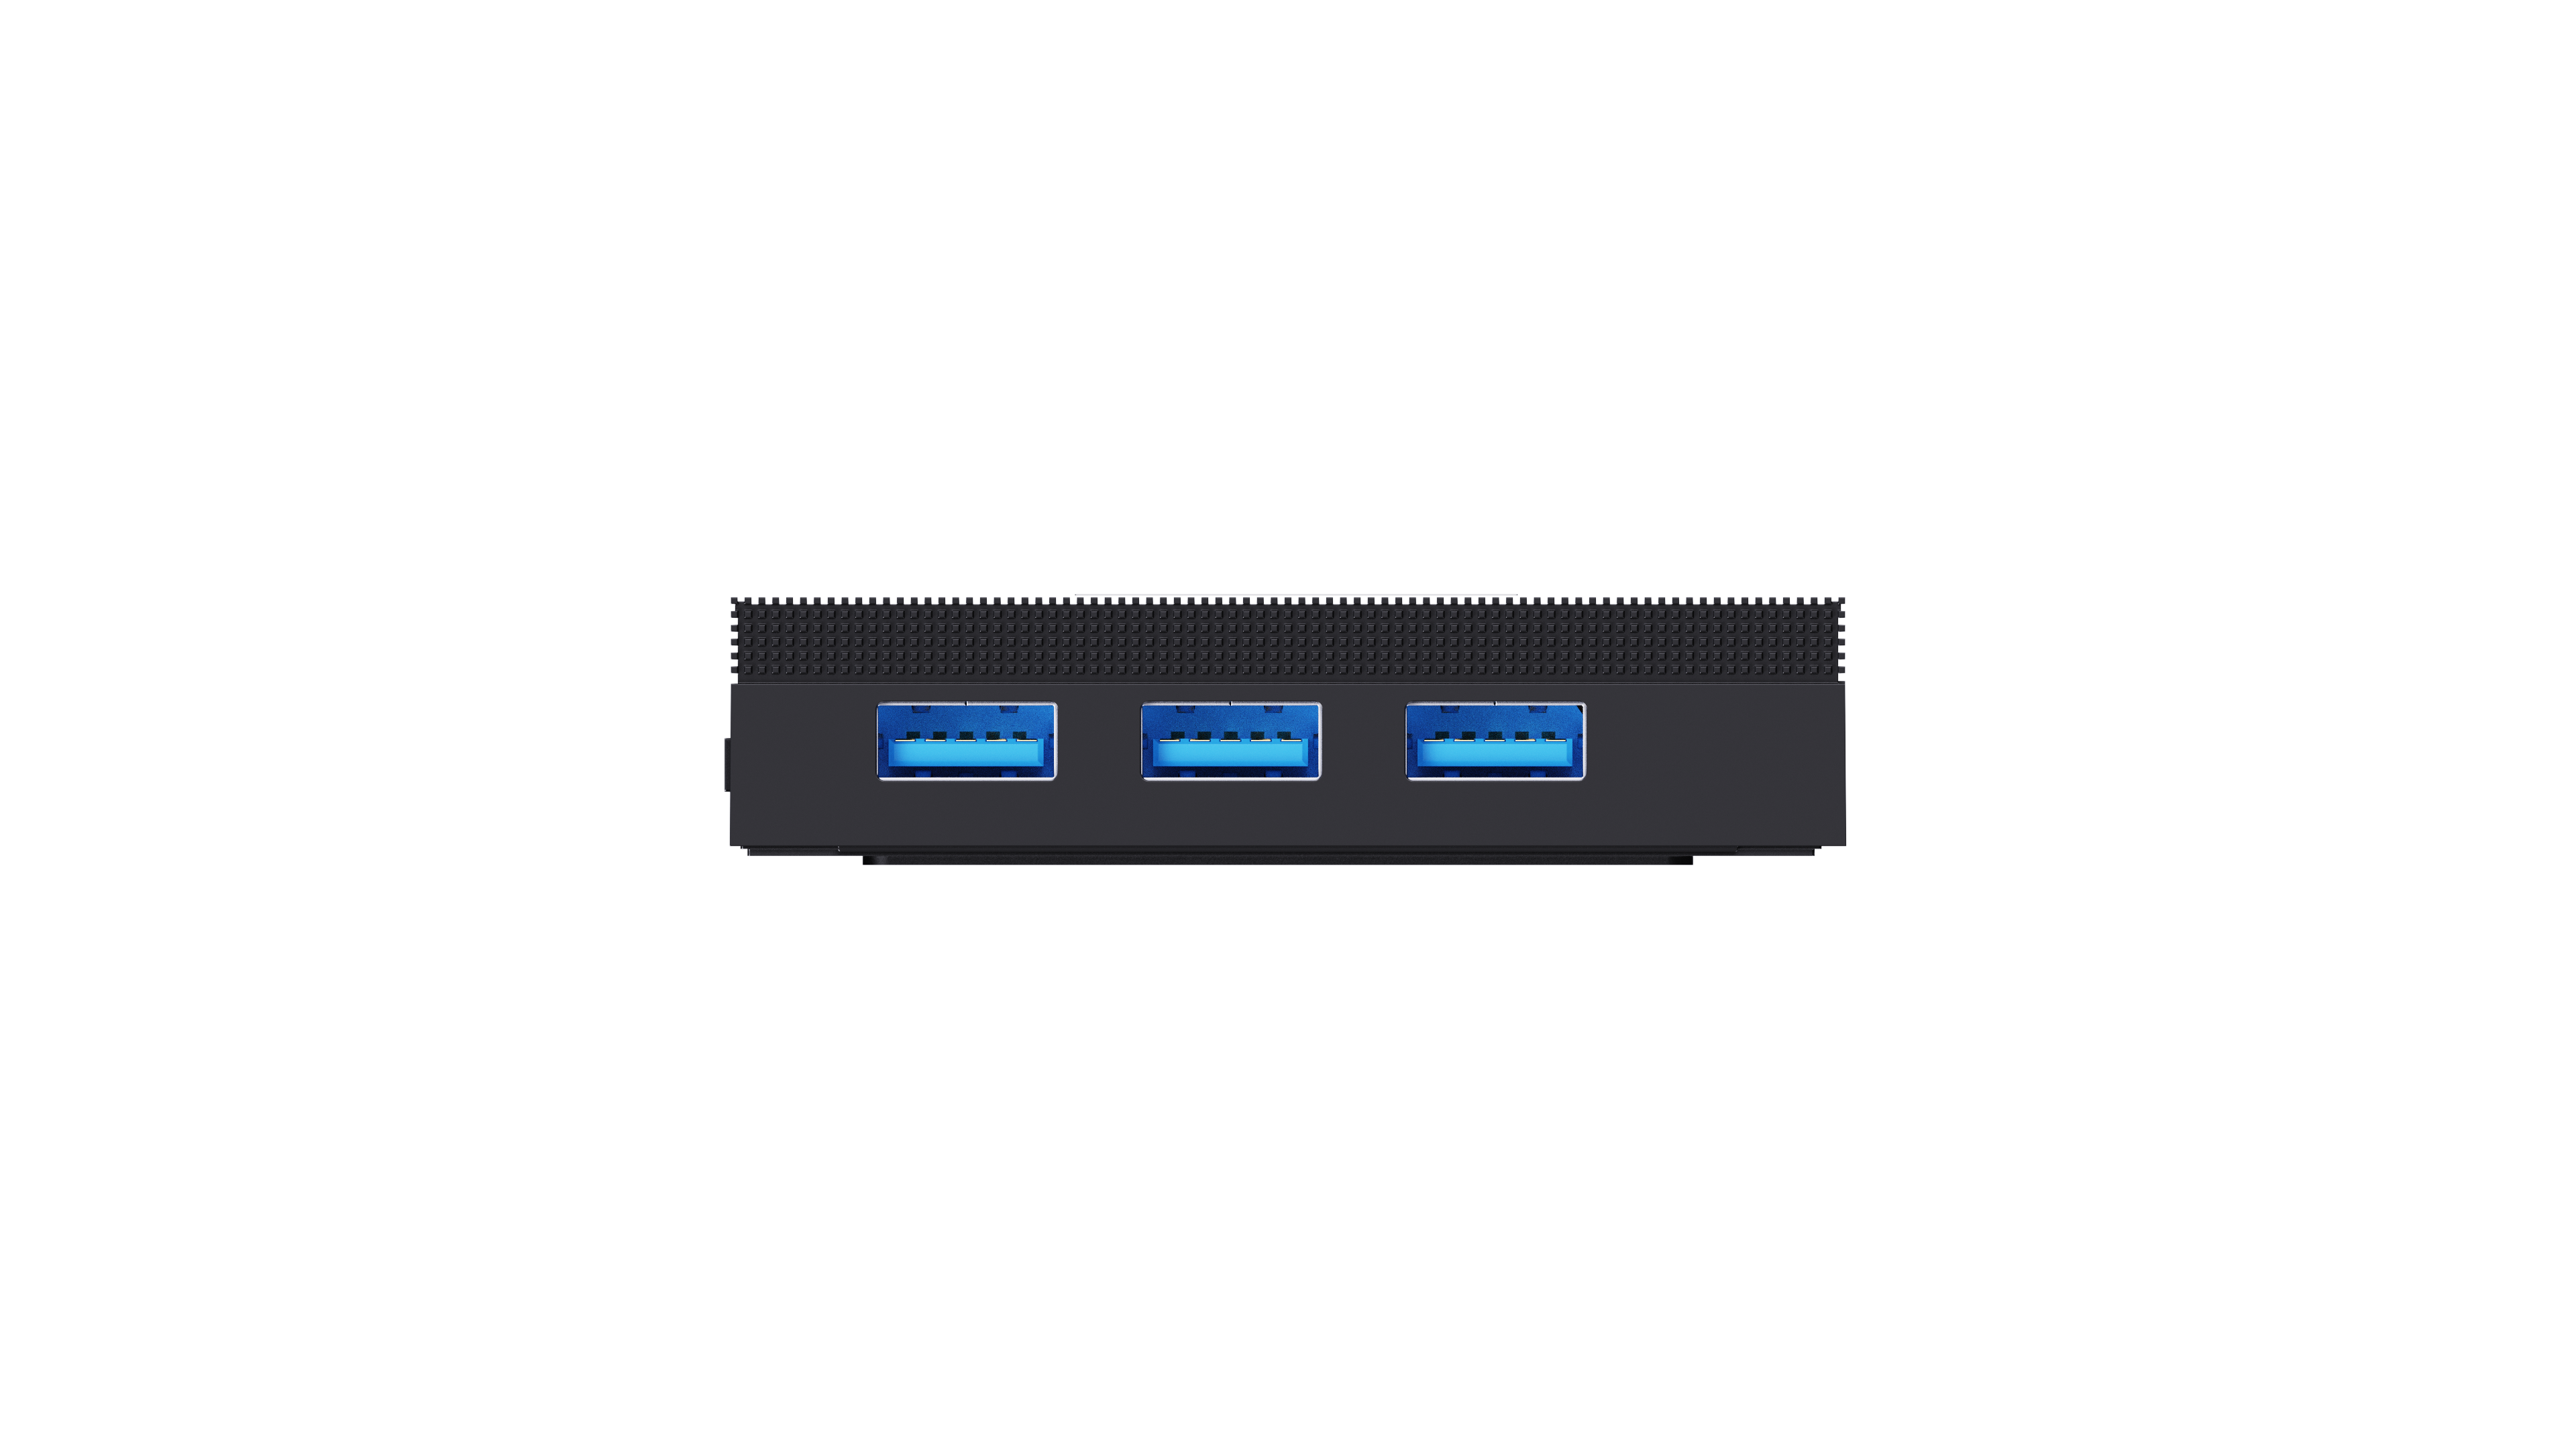
- WiFi 6 | Bluetooth 5.2 | 1 x Gigabit Ethernet | 4 x USB Ports | 2 x 4K HDMI Ports
- Internal NVMe slot can extend storage to 1TB
OpenADR Certified VEN:
eisy | home is OpenADR 2.0a/2.0b certified VEN. You will also need an OpenADR certificate. 
Please contact sales@universal-devices.com for more information.
Operating System:
Refined version of FreeBSD. UD manages building and maintaining the kernel and core/required packages. The OS and packages were designed to be easily field upgradeable and ensure that you configure once and run forever.
Device Support
- INSTEON Support – Requires a PLM (not included): 2413S, 2413U, or 24487U. If you are using 2413S (serial/RS232), then you will need our Serial PLM Kit
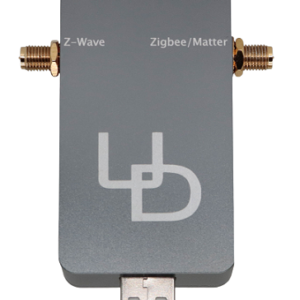
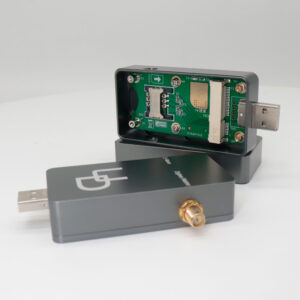
- Z-Wave Support – Requires our ZMatter USB dongle (not included)
- Zigbee / Matter Support – Requires our ZMatter USB dongle (not included). Zigbee and Matter support will not be available till 03/2023
- 100s of other devices and services are supported through our awesome and vetted third-party developed node servers (plugins). Here’s the list
How Easy Is It to Setup?
- Plug in the power cord to your eisy
- If you have a WIFI network, nothing else is necessary. If you prefer using a wired connection, plug in an Ethernet cable to the network port on eisy. Ensure that your network is DHCP enabled
- Install UD Mobile by scanning the QR Code below on your mobile phone:
 Let UD Mobile guide you the rest of the way
For your viewing pleasure, here are some videos:
Migration From Older Generation Controllers
- As long as you have a good backup, you can easily migrate from ISY994 (v5) and Polisy. It should be as easy as restoring your backup
- Your ISY Portal licenses are migrated
- Your node servers’ licenses are migrated
- The only caveat might be migration of your Z-Wave devices. This said, a solution is in the making
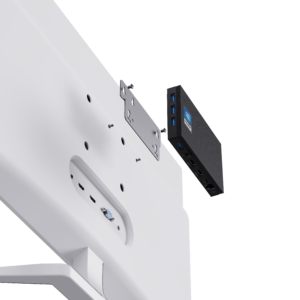
Can I Attach It to Something?
Yes, of course. eisy comes with VESA mounts so you can attach it to the back of a monitor, wall, or whatever else.
What Do I Need the HDMI Ports For?

Nothing or everything!
Like most of us, you are used to low power and headless controllers which is perfectly OK. This said, the side effects of going powerful was that we got 2 x 4K HDMI ports for free.
So, we decided to give you full control to an awesome and light weight windowing system based on XFCE. So, what you can do with it is up to you including streaming 4K videos and listening to music through your Bluetooth headphones at WIFI 6 speeds.
And when get bored, just click on the IoX Finder icon to see how eisy is doing or visit our forum and participate in lively discussions!
Of course, you can use eisy in a headless mode. Windowing system will not start unless you start it manually every time you login. All you have to do is to plug in your monitor to one of the HDMI ports on the back of eisy, and once booted up, login and type:
start.win
Developers Heaven!
Imagine this:
- Dual Monitors
- Raw power to develop, test, refine, and submit your node servers on the same platform as your customers
- Install development packages with one command
- Stay in synch with UD vetted packages, configuration, and OS updates
- Have access all packages offered by FreeBSD
- As long as your node server does not require Polisy hardware, you are guaranteed that whatever you develop on eisy, will run on Polisy as well
- Need more storage, extend it with and internal NVMe SSD to up to 1GB
P.S.
- All services that run on eisy and Polisy are developed on eisy itself
- Do you want to install Home Assistant, go for it
- You’re not yet a developer? Join our awesome developer program, huddle with likeminded geeks on slack, develop node servers, and make money!
Canadian?
For our dear Canadian customers, AARTech is handling all our sales in Canada. Here’s the link.
Discounts?
Yes, in the form of trade-in and the offer expires on 01/31/2023:
- ISY994 purchased in 2019 or later: $36.00
- Polisy2019 | 2020: $452021: $602022: $75
- Polisy PRO2019 | 2020: $602021: $752022: $90
Eligibility:
- eisy should have been purchased on or before 01/31/2023.
- You have purchased the eisy at regular prices. Discounted purchases, including Developer discounts are not eligible.
- You need to be the original owner of the equipment and have a copy of your invoice. eBay and other third-party purchases are not eligible.
- It’s a one-to-one refund. If you return more than one device, the device with most value will be thrown away. So, please only send only one
- Equipment must be in a working condition. If not, they will be thrown away and no refund will be issued
- Cosmetic damages are tolerated as long as they are not excessive
Procedure:
Within 30 days after the delivery date of your eisy, send your unit along with a copy of your invoices – for both the unit you are returning and the unit you purchased – to :
Universal Devices
eisy | tradein
5435 Balboa Blvd.
Suite 205
Encino, CA 91316
Refund will be issued to your CC within 30 days. Once refund is issued, you can no longer return your eisy.


Reviews
There are no reviews yet.